

Welcome! Have you ever tried to get to the basket but hit a wall of defenders? It’s really frustrating. That packed paint can freeze your offense.
We have a powerful solution. The empty-corner pick and roll breaks down that wall. It’s all about making a clear path for your ball handler.
Imagine clearing the kitchen of extra cooks. With less chaos, one chef can do amazing things. In basketball, we clear the corner to remove a key defender—the “low man.”
This creates what we call an empty side. It’s not just about distance. It’s about smartly moving defenders around.
By emptying that area, you make a highway straight to the rim. Your team’s chances of scoring near the basket go way up. You’re not just running a play; you’re shaping the game’s layout.
Let’s explore the core idea behind this spacing. Knowing the “why” will prepare you for the “how” we’ll discuss next.
Building the empty: clears via exit/flare, Chicago/Zoom away, ram-to-empty, ghost-and-go
Creating an empty corner is not magic; it’s a process. It’s like the first chapter of your pick-and-roll playbook. Without an empty lane, attacking the rim is tough. So, let’s learn how to move teammates out of the way.
Coaches call these moves “clears.” They are small, choreographed steps that move players from the corner to the wing. Mastering these moves makes the paint your playground.
The exit screen (or flare clear) is a common method. A player in the corner uses a screen to move to the perimeter. This isn’t random. It’s a precise move that pulls the defender away from the basket.
Sometimes, you need a more forceful approach. That’s where the ram clear comes in. Imagine your teammate as a moving wall. The player in the corner “rams” into their teammate to create space. The ram clear is about creating a physical advantage.
Now, let’s look at two famous clearing actions: Chicago and Zoom.
- Chicago: The player in the corner cuts to the top of the key, often using a screen. It’s a vertical clear that puts a shooter in a great spot.
- Zoom: The player cuts laterally across the baseline, using a screen to “zoom” to the far corner or wing. It’s a horizontal clear that stretches the defense.
Use Chicago to lift a shooter and create a driving lane. Use Zoom to empty one side of the floor and shift the defense’s weight.
Ram-to-empty uses force to achieve an empty corner. Ghost-and-go is a sneaky variation. A player fakes a screen, then suddenly moves off it. It’s a hesitation move that creates separation.
Your new role is to direct traffic. You move pieces using exits, rams, Chicago, or Zoom. With these actions, you can create an empty side on demand and set up for the attack.
Entry and angles: side vs slot entries, step-up and flat options, reject windows, “early keep” rule
Think of the entry into an empty-corner set as the first move in a chess game—it sets up everything that follows. How you bring the ball up and where you position yourself isn’t just a formality. It’s your launch sequence for the entire attack. Getting this right gives you control from the very first second.
We break down entries into two main types: side entries and slot entries. Understanding this choice is like knowing whether to take a direct ramp or a curved on-ramp onto the highway.
A side entry means you receive the pass near the wing, outside the three-point line. This creates a direct, downhill angle toward the basket for your drive. It’s aggressive and straightforward.
A slot entry happens when you catch the ball closer to the middle of the floor, near the “slot” area. This angle is more curved. It allows you to see the whole floor better and puts more pressure on the defense’s middle. Both are powerful, but they set up different reactions from the defense.
Once you have the ball, your screen options come into play. The two most common are the step-up and the flat screen. A step-up screen is when your teammate sets the pick while moving towards you, often from the baseline. It’s dynamic and can surprise a defender who isn’t ready.
A flat screen is set more parallel to you, like a traditional side pick-and-roll. The step-up action is particular deadly because it often creates a better angle to turn the corner and get to the rim.
Now, here’s a game-changing moment: the reject window. This is when the defender guarding you makes a mistake. Maybe they overplay the screen, or they get caught leaning. Instead of using the pick, you see an open lane and you attack it directly. You “reject” the screen entirely!
Spotting this reject opportunity is a skill. It requires reading the defender’s hips and shoulders. When you see that opening, explode past them. It’s the most direct path to the basket and often leads to an easy layup or a foul.
To simplify this read, we use the “early keep” rule. This is a simple mental cue: if the defender is even slightly out of position before the screen arrives, keep the ball and go. Don’t wait for the pick. “Early keep” means you attack immediately. It turns a complex decision into an instinctive one.
By mastering these entries, angles, and rules, you gain incredible confidence. You start to see the game in slow motion. You know exactly when to use a step-up, when to reject the screen, and when to patiently set up the play. This knowledge is your key to owning the rim every single time.
Reads and progressions: pocket to roller, shake lift timing, 45 cut, baseline drift three, drift-to-lob
The art of the empty-corner pick-and-roll starts when the ball handler turns the corner. It’s time to read the defense like a quarterback. Look for your first receiver. If they’re open, pass to them. If not, move on to the next option.
Your first move is usually the pocket pass to the rolling teammate. As you move off the screen, focus on the rim protector. If they’re in no-man’s land, pass the ball. This leads to an easy layup or dunk.
But what if the defender moves back, blocking your lane? Then, your journey begins. You need to find your second “receiver.”
Next, try the shake lift. Drive and fake a shoulder move or hesitation dribble. This “shake” freezes the defender. Then, quickly shoot a short jumper before they can react.
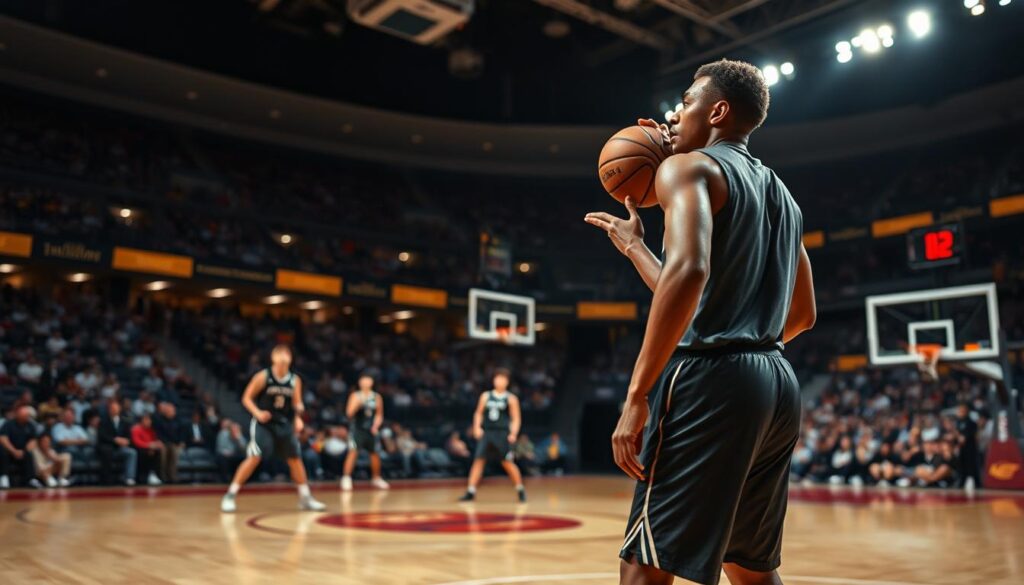
If the defense closes in, use the 45 cut. A player from the opposite wing cuts hard to the middle. This is your chance for a kick-out pass and an open jumper.
The baseline drift three is a beautiful shot. If the defense follows the ball, the weak-side corner player drifts along the baseline. A pass to them creates a wide-open three-pointer.
The drift-to-lob is a high-risk, high-reward play. The weak-side corner player moves towards the rim, ready for a lob. If the defense is drawn in, a well-timed lob can lead to a big finish.
Know which play the defense is giving you. If the lane is packed, look for the shake lift or the baseline drift. If the help defender cheats up, pass to the roller. If they’re overplaying, the backdoor lob might be open.
Practice these progressions until they’re second nature. This way, you can turn a simple ball screen into a powerful offensive tool.
Coverage Solutions: Your Cheat Sheet for Every Defense
Think of defensive coverages as locked doors. This section gives you the master key to open every one against the empty corner pick and roll.
Great teams won’t just let you run your favorite play. They’ll throw different defensive schemes at you to force mistakes. But here’s the good news: for every coverage, there’s a clear solution. We’ll break down the five most common ones and give you the exact counter to beat them.
Knowing these answers turns you from a playmaker into a problem solver on the court.
In a “Drop,” the defender guarding the screener stays back near the paint. Their goal is to protect the rim and stop the roll. Your counter is a two-part attack called pocket + snake.
First, the ball handler uses a “pocket” or bounce pass to the rolling big man. If the drop defender commits to the roller, you keep it and attack. If he stays in between, you “snake” the screen—dribble quickly between the screener and the defender—to get into the paint for a floaters or layup.
2. Solving ICE or Blue Coverage
“ICE” (also called “Blue”) forces the ball handler away from the screen and toward the sideline. The on-ball defender jumps over the top, and the screener’s defender shows hard to the middle.
You have two great options here. The first is to reject the screen entirely. Attack away from it before the defender can get set. The second is to flip the direction. Have your screener rescreen on the other side, catching the defense off guard and creating a new driving lane.
3. Countering the Switch
When defenders “switch,” they trade assignments. This can put a smaller player on your big man. Your immediate read is the ghost screen or a short seal.
If they switch early, your screener can “ghost” (fake the screen and slip to the basket). If the switch happens at the point of contact, the big man should seal the smaller defender deep in the paint for an easy entry pass and score.
4. Attacking the Hedge
A “Hedge” is when the screener’s defender steps out aggressively to slow the ball handler, then recovers back to his man. The key is to punish the recovery time.
Use an early slip. As soon as you see the defender commit to the hedge, your screener immediately dives to the rim. A well-timed pass leads to a dunk before the defender can get back.
5. Beating the Blitz
The “Blitz” sends two defenders at the ball handler to force a tough pass or turnover. It’s high pressure, but it leaves other players open.
Stay calm! The ball handler must make a quick, decisive pass. The screener, after setting the pick, can “pop” to an open space for a jumper. The player in the opposite corner is often wide open for a skip pass and a three-pointer.
| Defensive Coverage | Their Goal | Your Best Counter |
|---|---|---|
| Drop | Protect the rim, stop the roll | Pocket pass or snake dribble into paint |
| ICE / Blue | Force you sideline, kill the angle | Reject the screen or flip the direction |
| Switch | Eliminate mismatch, maintain position | Ghost screen or short seal in the post |
| Hedge | Disrupt timing, recover fast | Early slip by the screener to the basket |
| Blitz | Create turnover, pressure the ball | Quick pass to pop man or skip to corner |
Now you have a full toolbox! The best players don’t just know one move; they read the defense and choose the right tool. Practice these counters until they become automatic reactions.
Remember, the beauty of the empty corner pick and roll is its flexibility. When you can solve any coverage, you control the game.
Defensive rotations: x-out from top, peel switch—how to punish with skip and lift rescreens
When a defender rushes from the weakside corner, it’s time to act. This is your chance to score. Teams don’t let you have the ball easily. They send help to stop you.
This section teaches you how to turn their smart defense into your easy points.
Let’s look at the two main rotations you’ll face.
The X-Out From the Top: The defender on the weakside corner’s man moves to the top of the key. This happens when your ball handler turns the corner. It leaves the corner shooter open for a brief moment.
The Peel Switch: The defender guarding your roller switches to your popping big man. Another defender takes the roller’s place. It’s a quick switch to stop both the pocket pass and the pop.
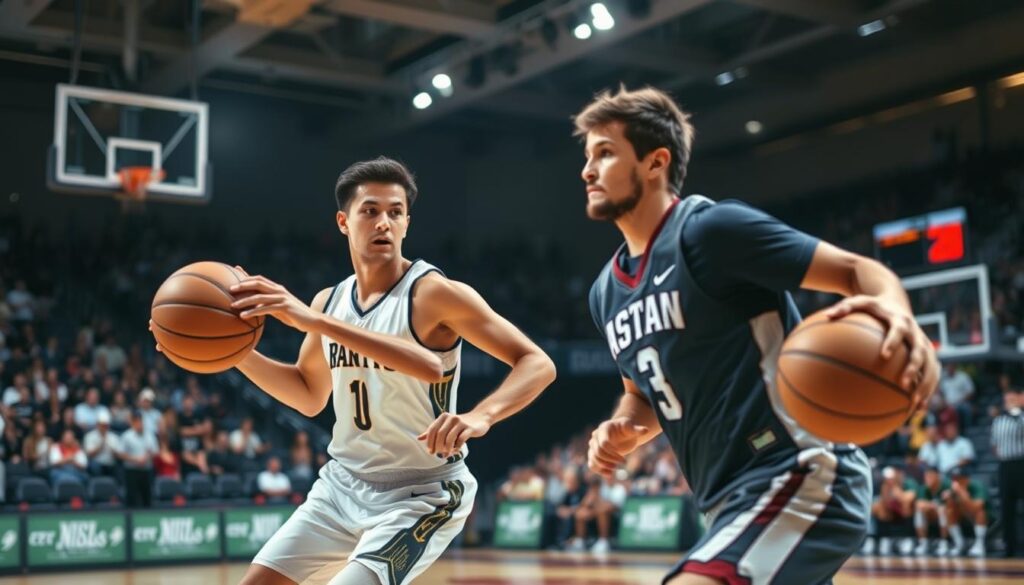
Defenders must “open up to the ball” during any rotation. They need to see their man and the ball handler. If they’re slow, we can punish them. Let’s see how.
Punishing the X-Out: The Skip Pass
When the weakside defender leaves to “x-out,” the ball handler should be excited. The skip pass to the open corner is your main x-out counter.
The timing is key. Pass the ball as soon as the defender’s back is turned or before they’re fully facing you. A crisp, overhead skip pass beats the rotation every time. It leads to a wide-open three-pointer before the defense can react.
Breaking the Peel Switch: The Lift Rescreen
The peel switch is tricky because it takes away your first two options. Your counter? Reset the action. This is where the “lift rescreen” comes in.
After the initial action, your popping big man “lifts” back up to the ball handler and sets another screen. The defense, now scrambled from the peel switch, is rarely ready for this second hit. It often creates a wide-open drive or a mismatch for your ball handler.
Think of it this way. Their rotations are like a door slamming shut on your first plan. Our skip passes and rescreens are the keys to unlocking the next one. By understanding these defensive moves, you stop seeing them as obstacles and start seeing them as invitations to score.
So, keep your head up. When the defense scrambles, stay calm. Look for that defender flying out of the corner or that confused switch. Then, make the simple, punishing read. That’s how you own the game beyond the initial play.
Packages: empty into Spain, empty into DHO keep, empty into Chicago re-entry
Let’s take your empty corner pick and roll skills to the next level. These packages are like the top tools in your offense’s toolbox. They start with a simple setup and add elite moves that beat tough defenses.
These “packages” combine several ideas into one smooth action. It’s not just a play; it’s a system with built-in answers. Let’s look at three powerful ones.
Empty into Spain Pick-and-Roll
This package brings a European twist to your game. Start with a basic empty-corner pick-and-roll on one side. Then, the weak-side big man sets a backscreen on the defender of the screener.
This creates chaos. The big man is now open for a three-pointer. If the defender goes for the backscreen, a lane to the rim opens up. It turns a good two-man game into a powerful three-man action.
Empty into DHO Keep
This package flows into a dribble handoff (DHO). The ball handler attacks the middle after using the ball screen. Instead of turning the corner, he hands the ball to a wing player cutting towards him.
The key word is “keep”. The handler fakes the handoff, keeps the ball, and blows by his defender. This hesitation move is devastating. It uses the defense’s expectation against them.
The Chicago re-entry is all about getting a second chance. Run the initial empty-side PnR. If stopped, quickly reverse the ball to the top.
Then, re-screen for the same ball handler on the opposite side. The defense is now scrambling. This “second wave” attack often leads to an open lane or a clean jumper. It teaches your team to play fast and without fear.
To compare these options easily, here’s a quick look:
| Package Name | Primary Action | Key Defensive Read | Top Scoring Option |
|---|---|---|---|
| Spain PnR | Ballscreen + Backscreen | How the helper defends the pop | Pop-out 3-pointer |
| DHO Keep | Dribble Handoff Fake | Defender’s footwork on the handoff | Blow-by drive to rim |
| Chicago Re-entry | Rescreen on Opposite Side | Rotation speed after ball reversal | Drive or pull-up jumper |
The beauty of these packages is their flexibility. You don’t need to memorize them like a robot. Understand the why behind each screen and cut. Then, mix and match based on the defense’s moves. This makes your offense unpredictable and powerful.
Start with one package at a time. Get the spacing and timing right. Soon, you’ll have many ways to kill the low man and own the rim every time.
Drills: 2v2 to 3v3 advantage, corner-check constraints, timing reps for exits
Let’s turn the empty corner pick and roll into muscle memory with drills. Knowing the theory is great, but practice makes perfect. This section will help you run practices that build instinct.
We focus on three key areas. First, we practice the numerical advantage. Second, we work on checking the corner. Third, we improve the timing of clears and exits. These drills are more than conditioning; they’re decision-making simulators.
Ready to dominate the rim in practice? Let’s dive in.
2v2 to 3v3 Advantage Drills
Start with a 2v2 to 3v3 drill to grasp the big advantage. It mimics the moment your empty corner action creates an overload.
Begin with a 2v2 scenario at the top of the key—a ball handler and a screener versus two defenders. After the screen is set, a third player sprints from the wing into the now-empty corner. This instantly creates a 3v2 situation.
The goal is clear. The ball handler must immediately attack the low defender. Does he drive? Does he hit the roller? Or does he skip it to the corner shooter? This drill forces quick, high-percentage reads under realistic pressure.
Coaching point: Yell “advantage!” the moment that third player fills the corner. This cues the offense to play with urgency and punish the defense.
Corner-Check Constraint Drills
Bad habits lose games. A common error is driving blindly without seeing the open shooter. Corner-check constraints fix this.
Design a drill where no drive to the basket is allowed unless the ball handler first looks at the corner. You can even make it a rule: “No layup without a verbal ‘corner!’ call.” It feels awkward at first, but it builds essential vision.
We like to use a 3v3 half-court scrimmage with this single constraint. The offense gets an extra point for any basket scored after a documented corner check. This rewards the right read and makes the habit stick.
Remember, the threat of the corner three is what makes the empty corner pick and roll so deadly. This drill ensures your players never forget it.
Crisp, purposeful clears don’t happen by accident. This is where defensive shell principles become an offensive tool. Data from defensive “Shell Drills” teaches defenders to “open up” and see both ball and man.
We flip that. Use a 4-on-4 shell setup. The offense runs a simulated empty corner action. Instead of focusing on defense, we focus on the offensive player making the exit or flare.
His job is to read the defender’s chest. The moment the defender “opens up” to see the ball, that’s the cue to make the cutting move. This teaches perfect timing against real defensive reactions.
Run this for 5 minutes a practice. You’ll see exits become sharper and more deceptive. It turns a defensive drill into an offensive timing masterclass.
| Drill Type | Primary Focus | Key Coaching Point | Decision Simulated |
|---|---|---|---|
| 2v2 to 3v3 Advantage | Creating numerical superiority | Attack the low defender immediately on the catch | Pass to roller, drive, or skip to corner? |
| Corner-Check Constraint | Off-ball awareness & vision | “Eyes to corner” before any dribble penetration | Shoot the open three or drive against a closeout? |
| Shell Drill Timing Reps | Crisp exit & screen timing | Cut on the defender’s “open up” movement | When to clear vs. when to set a re-screen? |
Incorporate these drills into your weekly plan. Start with the advantage drill to build confidence. Use the constraint drill to sharpen habits. Finish with timing reps for that final polish.
You are now building players who don’t just know the system—they can execute it under fire. This practical foundation is what leads to real-game success. Next, we’ll look at how to measure that success with key analytics.
Analytics: rim frequency gains, corner-3 rate, paint-touch-to-three ratio, advantage seconds
How do we measure success? By looking at specific empty corner pick and roll indicators. Data gives us the proof we need. It’s like having a dashboard for your offense.
These analytics show if you’re getting to the rim well or not. They help you know if you’re wasting time or not.
Let’s look at the four key metrics:
- Rim Frequency Gains
- Corner-3 Rate
- Paint-Touch-to-Three Ratio
- Advantage Seconds
Rim Frequency Gains show how often you get shots at the basket. This is your main goal. A good setup should increase this number a lot.
Why? Because you’ve opened a path to the basket. If this number isn’t going up, you need to work on your spacing or decision-making.
Next, check the Corner-3 Rate. This shows how many three-pointers you take from the empty corner. A high rate means you’re stretching the defense right.
When the defense moves, you should get an open shot. If your rate is low, the defense might not be committing fully.
The Paint-Touch-to-Three Ratio is very telling. It looks at both paint touches and three-pointers together. A high ratio means you’re drawing the defense and then kicking the ball out for a three.
This is the sign of a well-executed empty corner pick and roll.
Lastly, there’s Advantage Seconds. This shows how long the defense is in trouble after your first move. If it’s just one pass, or if it lasts a few seconds, that’s key.
Longer advantage seconds mean you’re keeping the pressure on. It’s the difference between a good shot and a great one.
By watching these numbers, you go from guessing to knowing. You can see what’s working and what needs improvement. These numbers help you fine-tune your playbook for real games.
Errors to avoid and scout checklist
Mastering the empty corner pick and roll means knowing what not to do as much as what to do. Let’s lock in those final details!
When running the empty corner pick and roll, a common error is forcing the pocket pass to your roller into traffic. This leads to turnovers. The better read is often the skip pass to your corner shooter.
Another mistake is failing to “lift” the wing defender on your clear-out. If you don’t drag them high enough, the driving lane for your ball handler stays clogged. Your spacing collapses before the play even starts.
Turn these lessons into action with a simple scout checklist. This one-page tool prepares you for any opponent and makes your film study direct.
First, identify their base coverage. Are they a heavy “drop” team? Do their guards fight over or under screens? The answer tells you which pass—pocket or skip—will be open most often.
Next, watch their low defender. Does he stay glued to the corner shooter, or does he help early on the roll? Your read on the 45 cut or baseline drift changes based on his habit.
Lastly, note their rotation speed. How quickly does their top defender “x-out” to the corner? A slow rotation means more advantage seconds for your shooter to fire.
This checklist transforms everything we’ve learned into a game plan. You’re not just running a play. You’re solving the specific puzzle the defense presents.
Our mission is to democratize this knowledge. You now understand the reads, the angles, and the counters. Go own the rim with your confident command of the empty corner pick and roll!
