

Welcome, coach! Let’s dive into one of basketball’s most lasting defensive systems. You might think it’s old-fashioned, but we’re here to show you why it’s timeless.
Did you know many zone setups, starting in 1-3-1 or 3-2, often settle into a 2-3 look after just a pass or two? It’s like the defense finds its natural balance.
So, why does this happen so often? The setup is incredibly solid. It’s designed to guard the paint, block dangerous passes, and challenge shooters in the corners.
In this guide, we’ll explore the modern use of this system. We’re going beyond the basic diagrams you’ve seen many times. Get ready for the subtle adjustments and matchup principles that make it a powerful tool.
We believe knowledge is power. So, let’s make this complex topic accessible for your team!
Base alignments, slides, and bump rules
A 2-3 zone is full of action, thanks to the slides of the bottom defenders and the bump from the weak side. It’s not about staying in one place! Your base alignment is your home position—where you start before the offense moves.
Your two top defenders watch the perimeter, always talking and ready to act. The three bottom defenders cover the paint, wings, and corners. But, you won’t stay in your spot for long.
The slide is key. It’s when your bottom defenders move together. As the ball moves, the zone shifts. Timing is everything, says coach Walter De Raffaele. Move “while the ball flies. The bigger mistake is that a lot of players move when the ball is already arrived.” Anticipate, don’t react.
The bump rule is next. When the ball lands on a wing, the weak-side defender moves to the paint’s middle. This blocks easy passes to the nail. It’s a move that stops common attacks.
Good slides and bumps make your zone move as one. It looks like a defensive dance. Here’s a simple table of their roles.
| Position | Primary Zone | Key Movement Rule | Communication Focus |
|---|---|---|---|
| Top (2) | Perimeter / Top of Key | Pressure the ball, deny direct passes. | “Ball!” “Screen!” Direct traffic. |
| Bottom-Left / Right | Wing, Corner, Short Corner | Execute the slide on ball movement. | “I’ve got corner!” “Watch the skip!” |
| Bottom-Middle | Paint, High Post | Protect the rim, front the post. | “Post!” “Help!” |
| Weak-Side Bottom | Opposite Lane / Paint | Execute the bump to the middle on a wing pass. | “Bumping!” “I’m middle!” |
Learning these 2-3 slides and the bump rule is key. It turns a static defense into a dynamic, tough one. Get these movements right, and you’re ready for anything the offense throws at you.
Handling high post flashes and dunker spot threats
When a player rushes to the high post, your zone defense is put to the test. This move aims to split your defense and get to the rim. Your strategy is all about gap coverage.
Gap coverage means protecting the spaces between defenders. It’s about controlling areas where passes can be most damaging. The high post is a key danger zone.
Coach De Raffaele says, “Every pass to the high post is the top defender’s job.” Your top defenders must be very alert. They need to deny the pass and block the cutter.
If the pass does get through, your backline must adjust quickly. The defender nearest the high post should press up. The others should move to protect the rim and cover the corners.
The dunker spot threat is another concern. While focusing on the high post, a player can sneak to the dunker spot. Your system must cover this too! The defender on the ball-side block is key. They must watch both the high post and the dunker spot.
Here are the rules to follow:
- Top Defender (Ball-Side): Fight over the screen to deny the initial pass. No easy catches!
- Bottom Defender (Ball-Side): Bump up to contest the pass, saying “I’ve got the post!” to teammates.
- Weak-Side Bottom Defender: Sink to protect the rim and cover the dunker spot if needed.
By following these steps, you block a major offensive weakness. You make their best shot a tough one. Your gap coverage turns their plans into low-percentage shots. That’s a win for your defense!
Corner coverage and x-out within a zone
Coaches worry about open corner three-pointers. Modern offenses aim for these shots. They stretch the floor and make quick passes to get the shot off.
To protect these corners, you have two strategies. One is the “x-out” zone rotation. The other is a mix of zone and man-to-man defense. Let’s look at each to see what’s best for your team.
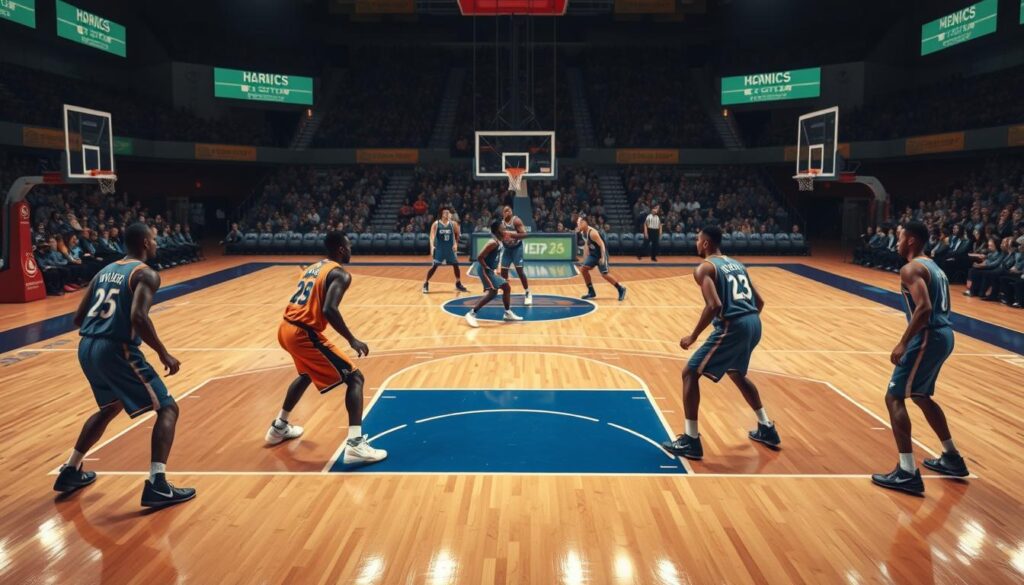
The x-out rotation is a classic zone defense. When a pass goes to the corner, the nearest defender closes out hard. At the same time, the weak-side defender sprints over to cover the skip pass. The weak-side low post defender then moves up to take the vacated wing.
This strategy is like a fire drill. It needs hustle, trust, and good communication. Everyone moves on the pass. This starts with denying the high post to slow the ball’s journey to the corner.
For a different approach, some coaches use a more matchup-focused system. Walter De Raffaele’s quote gives us the plan: “As I told you, the ball goes to the corner we pass man to man… from that point… we switch everything.”
This means the zone doesn’t just rotate. It temporarily transforms. Once the ball is in the corner, defenders switch to man-to-man. This disrupts the offense’s timing. A strong high post denial can prevent the initial entry, but if the ball gets there, this switch-everything mentality neutralizes skilled corner shooters.
| Aspect | X-Out Rotation (Pure Zone) | Hybrid Switch Approach |
|---|---|---|
| Philosophy | Maintain zone structure; cover gaps with explosive team rotation. | Temporarily abandon zone rules; apply man-to-man principles on the catch. |
| Key Action | Weak-side defender sprints to cover the skip pass. | Defenders “pass” to man coverage and switch all subsequent screens. |
| Best For… | Teams with great lateral speed, endurance, and trust in communication. | Teams with high basketball IQ, versatile defenders, and a need to disrupt set plays. |
| Major Risk | Slow rotation leads to an open corner three or an easy skip-pass shot. | Mismatches created by switching, specially if a guard picks up a big man. |
| Defensive Foundation | Relies on quick helpside slides and anticipation. | Starts with aggressive high post denial to limit easy corner passes. |
Which one should you choose? Think about your team’s identity. The x-out is about athleticism and synergy. Your players need to move as one connected unit. The hybrid method is about disruption and adaptability. It’s perfect for confusing offenses that rely on precise timing.
You can even mix both in a single game! Use the x-out early, then surprise the offense with a few possessions of the hybrid switch. This unpredictability can be a game-changer. The goal is the same: take away that easy corner three and make the offense uncomfortable.
Morphing: 2-3 to match-up, 2-3 to 3-2 on pass, trap corners package
Think of your 2-3 zone as a defense that changes with the offense’s moves. This is what morphing is all about. Your zone can shift and change to keep the offense guessing and protect your team’s weak spots.
Coach De Raffaele said it well: “We use the zone because man-to-man is tough for us… we try different things in different situations.” Morphing is that “different thing.” It lets you start with a zone but add man-to-man elements or new shapes.
One key morph is the matchup zone. Your defenders guard areas but match up with players who enter. It looks like man-to-man but your players stay in their spots. This mix confuses the offense and blocks passing lanes.
You can also plan a structural change. For example, start in a 2-3 zone but switch to a 3-2 when the ball is passed to a wing. This adds an extra defender on the strong side. Coach De Raffaele used a similar tactic to protect a slower big man, changing from a 3-2 to a 2-3 on a specific side.
Then, there’s the trap corners package. This is a double-team on a specific pass. When the ball goes to a corner, two defenders rush to trap the handler. The other three defenders then rotate to cover the most dangerous passes.
Trapping in the corners is effective because the sidelines and baselines act as extra defenders. The handler has less room to move. Your trap leads to a rushed pass, which your defenders can intercept. It’s a high-risk, high-reward strategy for turnovers.
The beauty of morphing is unpredictability. When your zone can change to a matchup, shift to a 3-2, or spring a trap, the offense is always guessing. They spend time figuring out what you’re in, disrupting their rhythm and shot clock management.
Start by adding one morph at a time. Practice the shift from 2-3 to 3-2 until it’s automatic. Then, add the matchup rules. Lastly, introduce your trap corners package for big plays. For more on tweaking your zone, check out these advanced zone adjustments. Remember, a morphing zone is more than a defense—it’s a strategic tool.
Rebounding and transition defense from zone
Let’s debunk a big myth about zone defense: it doesn’t mean you’ll lose on the boards. We often hear this. But, with the right system, your zone can be a rebounding powerhouse. It just needs a shift from “man” to “area” thinking.
In man-to-man, each player guards their assigned opponent. In a zone, your job is to own the space around you. We call this area boxing. When a shot goes up, every defender’s first job is to find the nearest player in their zone and make contact.
This initial contact is key. It’s called the bump. The defender closest to the basket must physically bump the closest shooter or cutter. This isn’t a gentle touch. It’s a fundamental move that stops the offensive player’s momentum and secures your position.
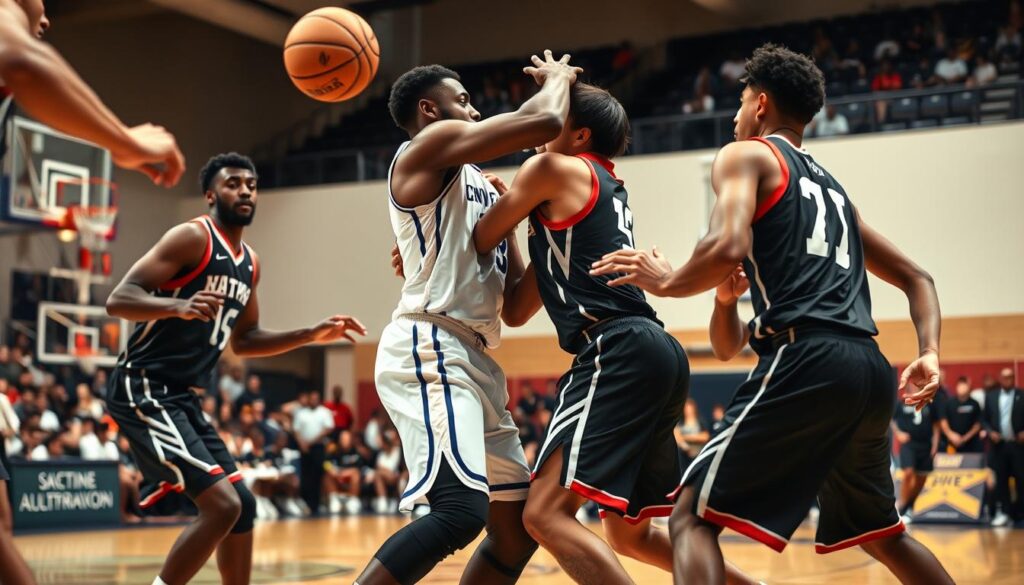
Think of it like claiming your territory. The bump shows you’re in charge of that airspace. Once contact is made, the same defender looks for the ball and goes after it. The other four defenders have a clear sequence:
- The two wing defenders crash the boards hard from the sides.
- The top defenders assess the ball’s trajectory and sprint to long rebounds.
- Everyone communicates! Yell “ball!” or “shot!” to trigger the boxing action.
This coordinated effort turns your zone into a five-player rebounding unit. You’re not just hoping for the ball; you’re systematically attacking it.
After you get the stop, things can get chaotic. Players are in spots, not matched up with a specific player. You need a plan.
We use a simple system built on a “safe” call. The player who secures the rebound immediately yells “Safe!”. This is the trigger. On that call, two things happen instantly:
- The rebounder and the nearest guard look to push the ball up the floor for a fast break.
- The three other defenders turn and sprint back to protect the basket. They don’t look for a man; they fill the three lanes of the court (middle, left, right) to stop the ball.
This automatic reaction turns defense into offense. You secure the ball with your area boxing and bump, then ignite your transition game with a clear verbal command. It flips the script on the old zone narrative.
Practice this sequence until it’s second nature. Start in your shell drill, have a coach take a shot, and work on the bump and crash. Then, on the coach’s whistle, simulate the “safe” call and sprint back. You’ll see your confidence soar.
Remember, a great zone doesn’t just force missed shots. It ends possessions and starts breaks. By mastering area boxing and having a transition plan, you transform your zone from a passive scheme into an aggressive, game-changing weapon.
Drills: shell-to-zone, overload reads, corner trap rotations
Let’s get started with three key drills that teach the 2-3 zone. Theory is important, but practice makes it real.
The Shell-to-Zone Drill starts with a 4-on-4 shell. Players focus on man-to-man defense. Then, they quickly move into their 2-3 zone spots. This drill helps them switch fast from man to zone defense.
The Overload Read Drills push your team hard. Place all five players on one side. This makes your defense rotate a lot. It’s not about being perfect right away—it’s about communication.
In the Corner Trap Rotation, your top defender traps the ball in the corner. The other defenders then rotate to cover the open lanes. This drill teaches them to move together.
A key part of these drills is the tag. It’s a quick touch to stop a cutter before returning to your zone. It’s not a foul, but a smart move to disrupt the offense.
These drills do more than improve footwork. They build instinct and trust in your zone defense. Players learn to move as one, not as separate individuals.
Scouting usage vs. poor shooters, short benches, foul issues
When do you use your 2-3 zone? It depends on three things: shooting, stamina, and fouls. Smart scouting lets you know when to use it. It turns your zone into a powerful tool.
First, aim for teams with bad outside shooters. Your zone fills the paint, making them shoot from far away. This is a key match-up principle. If their guards can’t hit three-pointers, your zone makes them take tough shots.
Second, use it against teams with small benches. Man-to-man defense is tiring. A zone is easier on your players. It makes the offense pass around, tiring out their stars.
Lastly, the zone helps with fouls. Coach De Raffaele says it lets you avoid too many fouls. If your key player gets two fouls fast, man defense is risky.
The zone lets you play differently and protect in new ways. You can hide players in spots, protecting them from tough battles. This is a smart use of defensive match-up principles.
Developing this skill makes you a proactive coach. Don’t just run a zone out of habit. Use it to exploit weaknesses, take advantage of small benches, or manage fouls. That’s how you control the game with the 2-3 zone.
KPIs: paint touches, corner 3s, second-chance points
Let’s move from guesses to facts by setting clear Key Performance Indicators (KPIs) for your 2-3 zone. The final score only tells part of the story. To really know if your defense is working, you need to track what happens during the game.
Think of these KPIs as your defense’s report card. They measure specific actions that show whether your zone is doing its job. We’re moving beyond just “points allowed” to look at the behaviors that lead to those points.
Here are the three essential KPIs you should track every game:
- Paint Touches: This counts how many times the offense catches the ball uncontested in the high post or on the block. Fewer paint touches mean your zone is compact and protecting the middle. It’s a direct measure of your interior defense.
- Corner 3s Allowed: Don’t just count how many corner shots they take. Note whether they were open or contested. A zone that gives up clean corner looks needs adjustment. This KPI tests your wing defenders’ closeouts.
- Second-Chance Points: This number tells you about your team’s boxing out success. Zones can struggle on the glass. If you’re giving up offensive rebounds and put-backs, your area responsibility needs work.
If you’re running a trap corners package, add a fourth, specialized KPI: Turnovers Forced in Traps. This measures how effective your aggressive rotations are. Are you actually creating steals and rushed passes?
Tracking these simple metrics gives you power. Instead of guessing at halftime, you have data. Maybe paint touches are high—time to adjust your slides. Perhaps corner 3s are open—your x-outs need work.
By focusing on these KPIs, you make smart, data-driven adjustments. You’ll know exactly what to fix and can truly measure your zone’s effectiveness possession by possession.
Special situations: BLOB/SLOB in zone
Your team has mastered the standard slides and rotations. Now, let’s tackle those high-pressure dead-ball moments. Offenses love to run special out-of-bounds plays designed to crack a 2-3 zone defense.
For a Baseline Out-of-Bounds (BLOB) play under your basket, a simple stack formation can cause chaos. One effective tweak is to have your bottom two defenders “front” the stack. This means stepping in front of offensive players before the inbound pass. It disrupts their timing and forces a tougher entry pass.
Your top defenders must communicate loudly on Sideline Out-of-Bounds (SLOB) sets. They often use dribble hand-offs or flare screens to attack the seams between your guards and forwards. Be ready to jump out together and take away the first scoring option.
These small adjustments make your 2-3 zone defense unpredictable. You take away the offense’s favorite scripted plays. Practice these looks in your team drills so the reactions become automatic.
A great defense adapts to any situation. With these final tools, your 2-3 zone is ready for the full game, from live action to every special situation. You’ve built a system that can control the paint, challenge shooters, and now, shut down set plays.
