

Welcome! Let’s dive into a game-changing basketball strategy. It turns the court into an extra player for your defense without adding anyone.
The idea is simple yet powerful. Use the sideline as a “6th defender” to trap the ball handler. This limits their options and controls the floor.
Your main goal is to force the ball handler toward the sideline every time. This creates a barrier that restricts their passing and driving.
This leads to the key “no-middle” mentality. Blocking the middle of the court is vital. It protects the paint and forces tough, low-percentage shots.
This strategy was made famous by Coach Tom Thibodeau. It’s now a cornerstone of pick-and-roll defense. It’s not about rushing; it’s about smart positioning that makes offense hard.
Understanding the no-middle principle shows why side PnR defense is so important. Let’s explore it further!
Guard rules: jump to the high side, hips angle, footwork, under vs. over
Think of your role in ICE defense as a traffic cop. You direct the ball handler away from the screen and toward the sideline. Your actions start the whole defensive sequence. This is your chance to be aggressive and decisive!
This first move is called the “jump to the high side.” It’s not just reacting to the screen. It’s about attacking the ball handler’s path before they can use it. You step forward, placing your body between the ball and the screener.
Your goal is simple: make the ball handler reject the screen entirely. You push them toward the sideline, forcing them into a less dangerous area. This is the heart of effective down coverage.
Your hips are your steering wheel. Angle them toward the sideline, almost parallel to the baseline. This “open” stance lets you slide laterally while seeing both the ball and your teammate.
Your footwork is a quick, explosive step with your outside foot (the foot closer to the sideline). This “jump” cuts off the angle to the middle. Stay low and wide in your defensive stance. Your inside hand (the one toward the middle of the court) should be active, discouraging any pass back to the screener.
Communication is key. As you make your jump, a loud “ICE! ICE!” call tells your big man it’s time to drop. You’re a partnership working to protect the paint.
The Great Debate: Going Under vs. Over
The standard rule in ICE defense is to go over the screen. You fight to stay between the ball and the basket, maintaining pressure. But sometimes, going under the screen is the smarter play.
How do you decide? It depends on the shooter you’re guarding. If they are a poor outside shooter, going under the screen can be safe. But against a lethal shooter, you must go over every time to contest the shot.
Here’s a quick guide to help you make the right call in the heat of the moment:
| Technique | When to Use It | Footwork Key | Risk vs. Reward |
|---|---|---|---|
| Go Over (Standard) | Guarding a good shooter; preventing the pull-up jumper. | Quick, high “jump” step, then chase with active hands. | Risk: Can be physically demanding. Reward: Takes away the shot and forces the drive into help. |
| Go Under (Rare) | Guarding a non-shooter; when you have a large lead in late clock. | Drop step with the inside foot, then sprint to recover position. | Risk: Gives up an open three. Reward: Cuts off the drive completely and conserves energy. |
Remember, your primary job is always to force the sideline. Whether you go over or under, your hips should be angled to influence the ball handler away from the middle. This consistent pressure is what makes the ICE defense so effective.
By mastering these guard rules—the jump, the angle, and the footwork—you become the engine of your team’s down coverage. You set the tone, you direct the traffic, and you trust your teammates behind you. Now let’s get to work!
Big rules: drop to touch, contain baseline, rim-line positioning
The “drop to touch” principle is key for the big in the ICE scheme. You move from being aggressive to being smart about containment. You act as a safety net, not a shot-blocker.
So, what does drop to touch mean? You slide back towards the paint but stay in the game. Imagine you could touch the ball handler if they drive straight at you. Your job is to block their path, ready to contain them.
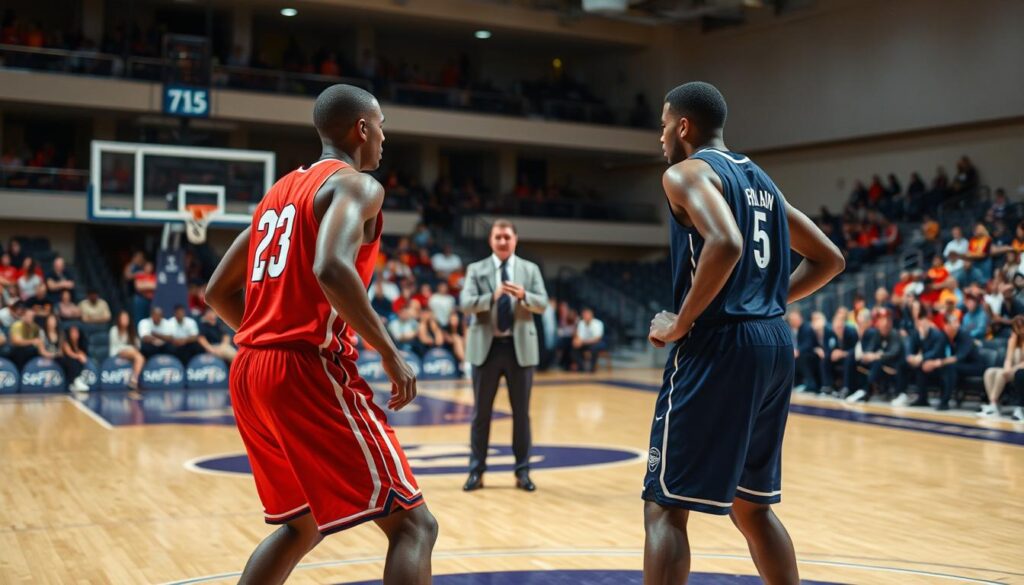
Your main task is to contain baseline. The on-ball guard tries to push the ball handler to the sideline. You’re the wall that stops them from reaching the rim. Make sure you don’t let them get past you!
Now, let’s talk about rim-line positioning. This is your sweet spot. You need to be deep enough to block drives but also ready to contest jumpers. Here’s how to find it:
- Position yourself between the ball handler and the basket.
- Keep your chest facing the ball, in a low, ready stance.
- Your drop should put you just inside the “nail” (the imaginary line at the free-throw line extended).
It’s all about patience and presence. By mastering drop to touch, you become a reliable defender. This makes it hard for the offense and keeps the paint safe.
Corner and nail help: when to tag from the corner vs. top stunt only
If the guard and big are doing their jobs, the ball handler is pushed toward the sideline. But what stops the easy pass to the rolling big man? This is where your weak-side defenders become stars. They use smart corner help rules to shut down the offense’s escape routes.
We call this help scheme “corner and nail” help. Two defenders are key. The corner defender (X3) is on the weak-side block or in the short corner. The nail defender (often X2) is at the “nail”—the spot at the top of the key, free-throw line extended. Their job is to read the play and choose one of two actions.
This is the major help. The corner defender (X3) leaves their player and jumps into the lane to physically stop the roller. Think of it as putting your body between the ball and the rolling big. You use this when the roller is the primary threat.
For example, if the screener is a dominant big who rolls hard to the basket, the corner defender must tag. They slide over near the paint to become a temporary roadblock. This forces the ball handler to hesitate or make a difficult pass.
The Top Stunt Only from the Nail
This is a fake or short closeout. The nail defender (X2) takes a quick, aggressive step or two toward the ball handler, then recovers to their own player. It’s a bluff designed to disrupt the pass without fully committing.
You use a top stunt when the corner shooter is a dangerous specialist you can’t leave. The stunt makes the ball handler think you’re coming to help, which can cause a rushed or bad decision, while you’re ready to close out on your shooter.
So, how do you decide in a split second? You make two quick reads:
- Read the Roller: Is the big man a scoring threat rolling to the rim? If yes, the corner defender must tag.
- Read the Corner Shooter: Is my man in the corner a non-shooter or a slow specialist? If yes, I can tag more aggressively. If he’s a sharp shooter, I might stunt from the top instead.
Mastering this decision is what separates good team defense from great team defense. It’s not just about effort; it’s about five players making connected, intelligent reads based on these fundamental corner help rules.
Counters: reject, snake back to middle, pop big, Spain, step-up
The real test of your ICE defense is when the offense rejects the screen and attacks your weak side. Smart teams won’t just accept your sideline trap. They have a playbook full of counters designed to exploit it!
Knowing these moves isn’t about fearing them. It’s about being prepared to adjust and shut them down. Let’s walk through the five most common counters you’ll face.
The Reject: This is the primary counter. Here, the ball handler sees your guard jumping to the high side and simply refuses the screen. Instead of using it, they immediately attack the middle—the exact area you’re trying to deny. Your guard must be ready to recover and slide their feet to cut off this direct drive.
The Snake: Sometimes, the ball handler will start to use the screen but then “snake” their dribble back toward the middle. It’s a slippery, change-of-direction move. Your big, who is in a drop position, must be alert. They need to contain this dribble penetration without leaving the rolling screener wide open.
Pop Big: What if the screener doesn’t roll? In the “pop” action, they step out to the perimeter for a jump shot. This targets your dropping big who is focused on the paint. Communication is key! Your guard must call out “Pop!” so the big can close out, while the guard recovers to their own assignment.
Spain Pick-and-Roll: This is a more advanced, two-layer action. After setting the initial screen, the screener then receives a back-screen from a third player, often in the weak side corner. This creates a confusing chain reaction. Defending it requires perfect help rotation and loud talk from your entire team.
Step-Up: In this counter, the screener doesn’t set a typical angle. They “step up” higher, almost to the level of the ball, to create a different driving lane. It can disrupt your guard’s intended jump-over path. The defensive principle remains: force the ball to the sideline and protect the paint.
Each counter challenges a different part of your ICE scheme. But with film study and practice, you can recognize them early. Remember, your blue (help-side) defenders are your safety net. When a counter breaks the first line, your team’s weak side help must be ready to rotate.
Think of it like a chess match. You make a move (ICE), they counter. Your job is to have the next move ready. By understanding these five counters, you turn knowledge into defensive power!
Late-switch/peel solutions when the guard is beat
Even with perfect execution, sometimes the ball handler beats your guard. It’s just basketball! This section is your guide for those moments. When the ICE defense fails, you need quick fixes to stop an easy basket.
These fixes are your safety valves. They are the late-switch and the peel switch. Think of them like an emergency brake in your car. You hope you never need it, but you’re glad it’s there when you do.
Let’s look at each one. A late-switch is a quick handoff based on communication. It happens after the screen action starts. The guard and the big man swap assignments quickly.
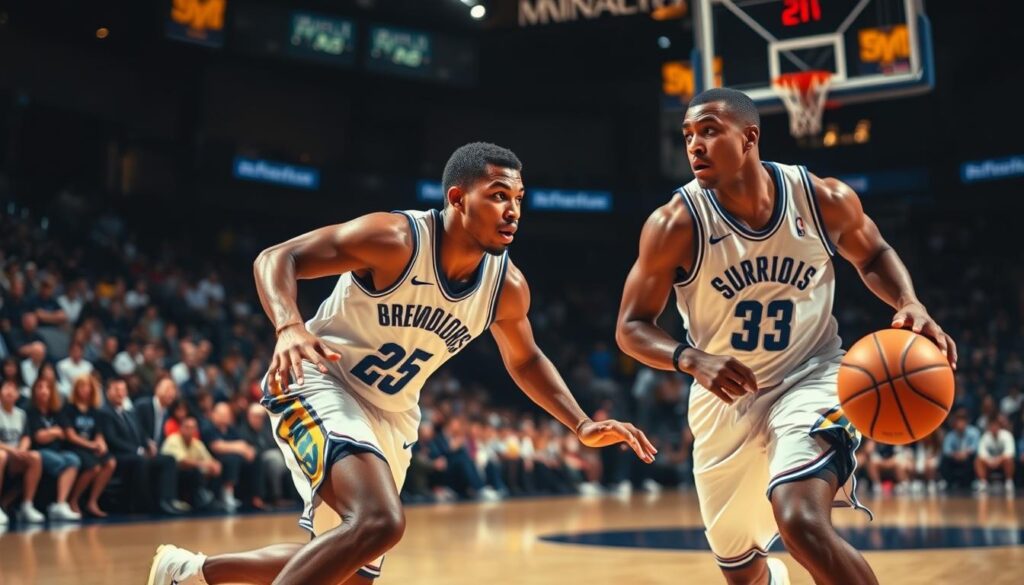
A peel switch is different. The big man peels off his man to pick up the ball handler. This gives the guard a chance to recover. The big then goes back to his original assignment.
So, when do you use a late-switch versus a peel? The choice is made quickly, but there are clear rules.
Use a late-switch when your guard is screened and trailing. If the ball handler has a step but isn’t full speed, a clean handoff can work. The key is clear, early communication.
Choose a peel switch when the guard is hit hard and is way behind. If the driver is fast towards the rim, the big must step up. This is a “stop the bleeding” move. The guard must sprint back to find the open man.
The screener’s defender is key in these situations. They must be ready to jump out, contain the dribble, and then scramble back if needed.
To make it clear, here’s a quick comparison of these two emergency techniques:
| Solution | Primary Trigger | Key Communication | Big Man’s Action | Guard’s Action |
|---|---|---|---|---|
| Late-Switch | Guard is trailing but in the play | “Switch!” or “I got ball!” | Fully takes the ball handler; stays with him | Fully takes the screener; finds him |
| Peel Switch | Guard is totally beaten, path to rim is open | “Help!” or “Step up!” | Temporarily contains the dribbler; then recovers to own man | Recovers ASAP to find and cover the big’s original man |
Drilling these reactions is essential. You want them to feel instinctual. In practice, run 3-on-3 scenarios where the offense attacks hard. This forces your defense to make these emergency calls. The more you practice, the calmer you’ll be in the game.
Remember, these aren’t your first option. A well-executed ICE should force a tough pass or a contested shot. But when that first layer gets cracked, your late-switch and peel solutions are what stand between a breakdown and a bucket.
Drills: 2v2 side PnR, 3v3 corner decision tree, 4v4 with stunt clocks
Let’s move from the whiteboard to the court with drills that build your ICE defense. It’s one thing to know the rules, but it’s another to apply them under pressure. These exercises will make your team’s reactions second nature.
We’ll start simple, add complexity, and finish with a drill that feels like a real game. This step-by-step approach builds confidence and competence.
This drill focuses on the basics. You need one offensive guard, one offensive big setting a side screen, and your two ICE defenders.
The goal is to practice communication and footwork. Your on-ball defender must practice jumping to the high side and turning the ball handler. Your big must work on their drop to touch and rim-line positioning.
Run this drill for 2-3 minutes per pair. Coach’s cue: “Force the sideline!” and “Touch and contain!” It’s the perfect foundation.
3v3 Corner Decision Tree Drill: Train the Help
Now, let’s add the critical third player: a shooter in the corner. This creates the “corner decision tree” your help defender must navigate.
As the side pick-and-roll develops, the defender in the corner has a live choice. Do they tag the rolling big, or do they stunt and recover to their shooter? There’s no preset answer—they must read the pass and the drive.
This drill forces intelligent, split-second decisions. It turns theoretical help rules into instinct. You’ll see your players start to see the game differently.
4v4 with Stunt Clocks: Simulate Game Speed
Now, we ramp up to full rotations with a 4v4 setup. Add a player at the top of the key. This is where “stunt clocks” come into play.
A stunt clock is a mental timer. How long can the top help defender stunt into the lane before they must sprint back to their own assignment? In this drill, we simulate the constant rotation and recovery needed in a live game.
The offense is encouraged to make the extra pass. This puts immense pressure on your defensive rotations. It teaches your team to protect the paint while closing out to shooters with urgency.
These three drills form a powerful progression. Start with the 2v2 to build the core ICE relationship. Layer in the 3v3 to develop help-side IQ. Then, use the 4v4 to condition your team for the speed and complexity of a real possession.
Run them in sequence at your next practice. You’ll be amazed at how quickly your team’s defensive cohesion improves.
Scouting adjustments by opponent handedness and alignment
Before the game starts, making simple changes to your side PnR defense can give you a big advantage. Knowing the opponent’s handedness and alignment is key. By using the ICE technique differently for each opponent, you can outsmart them.
First, consider the ball handler’s dominant hand. The ICE method aims to force the ball to the sideline. But, if the ball handler is right-handed going left, you’re forcing them to their off-hand. This is a good thing.
For left-handed players going right, forcing them to their strong side is not ideal. Here, your scouting report is essential. If a player is weaker with their left hand, your guard should force them to their weak hand. This small change can make a big difference.
The second factor is the offense’s spacing. A tight alignment is different from a 5-out spread that stretches the court. Your help defense rules must adjust to this.
In a 5-out alignment, corner defenders are often great shooters. Your “corner help” rule becomes risky. Your big’s “drop to touch” might need to be deeper, and your top help becomes more important.
Conversely, if the offense has a non-shooter in the corner, you can be more aggressive. Scouting tells you who is in the corners and how to adjust your team’s help priorities.
So, your pre-game scouting should lead to a clear plan for your side PnR defense:
- Identify Weak Hands: Which primary ball handlers do we force left? Which do we force right? Tell your on-ball defenders before the game.
- Map the Shooters: Where are their best three-point threats? Our help is less aggressive against these players.
- Adjust Help Depth: Against spread lineups, our bigs drop deeper. Against compact alignments, they can be more aggressive.
- Simplify the Message: It might be as simple as, “On all ball screens for player #5, force him left. Help is coming from the nail, not the corner.”
These adjustments are not about changing your defense completely. They’re about fine-tuning it. By focusing on handedness and alignment before the game, you tailor your side PnR defense to exploit weaknesses and neutralize strengths. This is how you go from being good to being prepared.
KPIs and film checklist
How can you tell if your team is executing the ICE defense correctly? It starts with tracking key performance indicators. Wins and losses don’t always tell the full story. A game can be won even if your defensive execution was sloppy. On the other hand, you can lose a game while defending your principles perfectly. That’s why we need objective measures.
KPIs turn vague ideas like “play good defense” into clear, actionable goals. They help you focus on the process, not just the outcome. For your no-middle ICE defense, the main goal is simple: keep the ball out of the middle of the floor. Your KPIs should measure how well you achieve that.
Let’s break down three core KPIs for ICE defense. These are the numbers you and your staff should track during film review.
1. Sideline Pick-and-Roll Force Percentage: Did we successfully force the ball handler toward the sideline? This is your first and most important job. Count every side pick-and-roll. How many times did the guard jump to the high side and use their footwork to steer the ball away from the middle? A successful force is a win, even if the offense scores later.
2. Contested Shot Rate (Without Fouls): Did we contest the ball handler’s shot or pass effectively? When we ICE, the guard’s job is to pressure without getting beat downhill. We want a hand up on every jumper. More importantly, we want zero fouls on these contests. Fouling a jump shooter is a major breakdown.
3. Correct Help Decision Rate: Did our help defenders make the right tag, stunt, or stay decision? This KPI evaluates your bigs and corner defenders. Was the tag from the corner timely? Did the big contain the baseline drive? Tracking this shows if your team understands the help rules.
Now, how do you track these KPIs? You use a film checklist. This tool turns film session from a passive watching experience into an active learning one. Here is a simple checklist you can use for any game or practice segment.
| Checklist Item | Focus Area | Grade (✓/✗) | Notes |
|---|---|---|---|
| Guard forces sideline | On-ball defense | Note if they got “snaked” back middle. | |
| Big drops to touch | Rim protection | Was their positioning at the rim-line correct? | |
| Corner help tags the roller | Help defense | Or did they correctly “stunt and recover”? | |
| Shot contest is clean | Discipline | No fouls on the jump shooter. | |
| Ball handler passes out | Success metric | A pass-out often means the ICE worked! |
To use this, watch your game film possession by possession. For each side pick-and-roll, go down the list and mark each item. You’ll quickly see patterns. Maybe your guards are forcing sideline well, but your bigs are dropping too deep. Or perhaps your corner defenders are late on their tags.
This checklist creates a common language for your team. Instead of saying, “Our defense was bad,” you can say, “On 70% of possessions, we forced the sideline. But we only tagged the roller correctly 50% of the time.” That’s a specific, fixable problem! It shifts the conversation from blame to solution.
Remember, the heart of the no-middle philosophy is control. These KPIs and your film checklist give you control over your improvement. You’re not guessing anymore. You’re coaching with data. Start with these simple metrics, and you’ll be amazed at how quickly your team’s defensive IQ and execution improve.
Common breakdowns and cue words
Even with perfect drills and scouting, your ICE defense will face moments of pressure. Let’s diagnose the most frequent breakdowns and fix them with simple on-court commands.
The guard gets screened on the sideline. The ball handler turns the corner. Your fix is immediate footwork. The guard must fight over the screen with their hips angled. Shout “SIDELINE!” This one word reminds your teammate to force the ball handler away from the paint.
Miscommunication between the guard and your big is a primary challenge. Who has the driver? A confused moment can give up a middle drive. The solution is clarity. Yell “ICE!” This reaffirms your coverage. If the guard is clearly beaten, a late peel switch by the big becomes necessary. Communication prevents a wide-open lane.
The help defender in the corner is a step late. The driver gets an easy pass for a corner three. Your fix is early help. The nail defender must stunt aggressively. Scream “TAG!” This cues the helper to touch the driver and recover. It stops the drive and protects the rim.
These cue words create a shared language. They turn complex defensive rules into instant corrections. Use “SIDELINE,” “ICE,” and “TAG” to keep your team connected. Your defense will troubleshoot itself in real-time, making your ICE coverage rock solid.
